Mistake 1: Measuring the drawer front instead of the inside
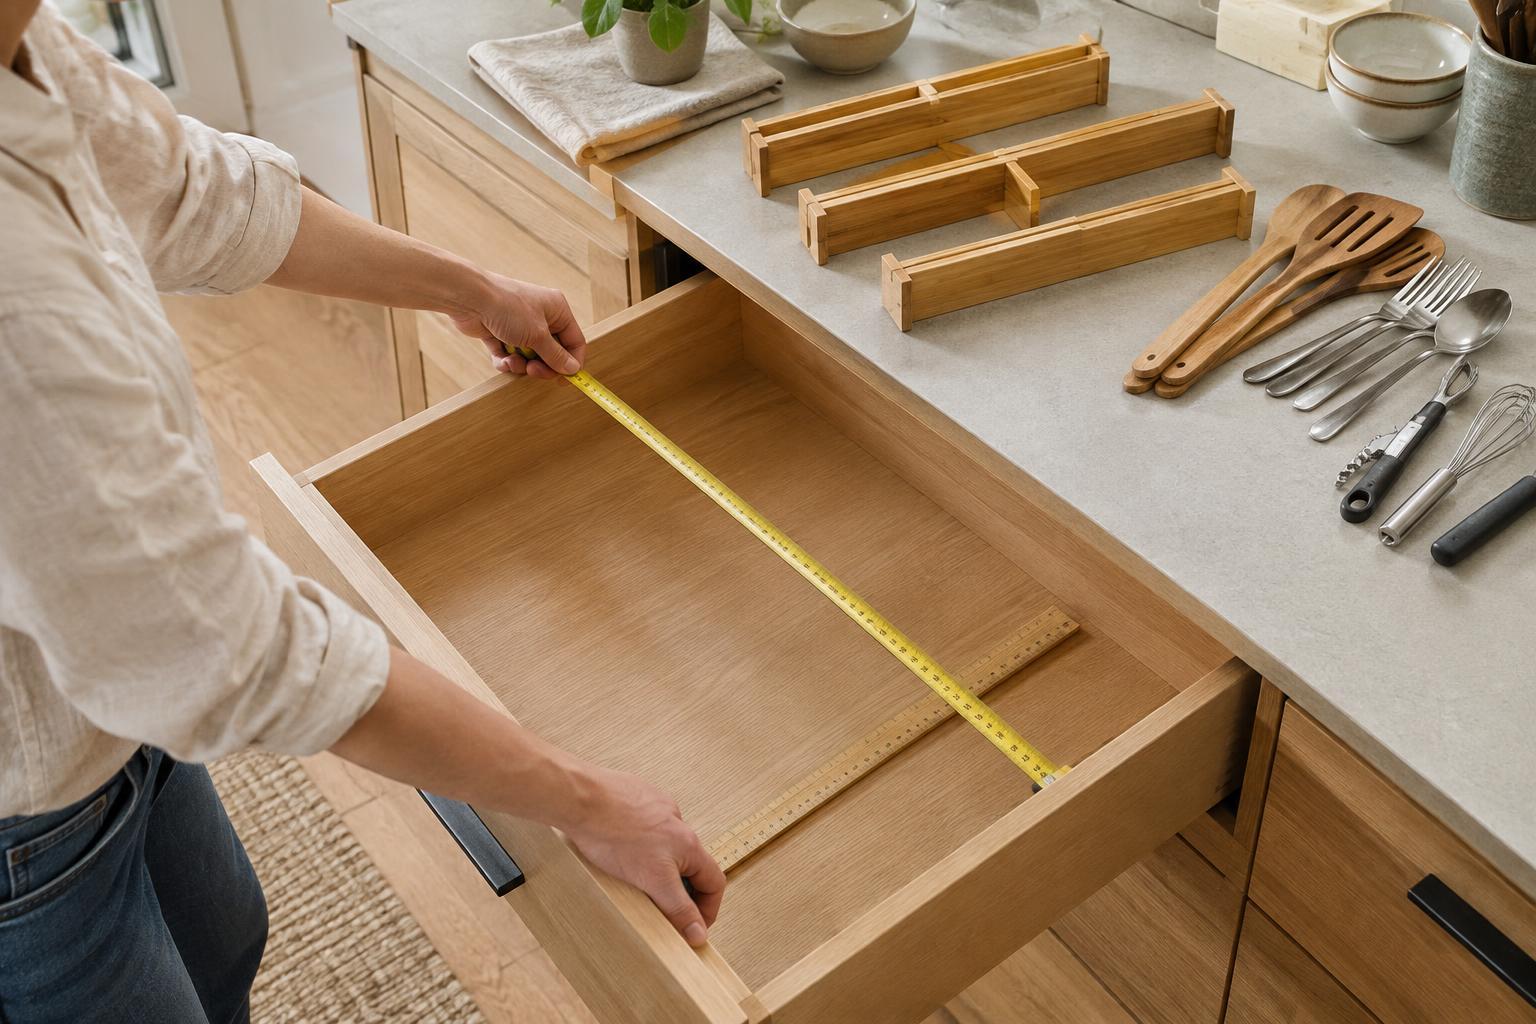
A drawer’s front panel may be wider than its storage area. Measuring across the visible front, or relying on a cabinet’s advertised width, can leave you with a divider that will not fit. Open the drawer and measure the inside width from side to side, then the inside depth from back to front. Measure near the bottom, where most organizers sit, rather than across the top edge.
Check more than one point if the drawer has curved corners, a shaped back or sides that taper slightly. Note any screws, supports or other features that intrude into the space. These details can matter with rigid trays that need to sit flat. Keep the measurements on your phone while shopping, and compare them with the divider’s stated outside dimensions, not just the size of its compartments.
Mistake 2: Forgetting height and opening clearance
A divider can fit the drawer’s footprint and still stop it from closing. Measure the usable height from the drawer bottom to the lowest obstruction above it. If an item will stand upright in a compartment, include that item in your clearance check. A tall utensil, bottle or tool may be the real limit, even when the organizer itself is shallow.
Consider how far the drawer opens, too. A deep organizer may fit physically, while its back compartments remain awkward to reach if the drawer does not extend fully. Before buying, place a few items toward the back of the empty drawer and see whether you can pick them up comfortably. That quick test may point you toward shorter trays, a different arrangement or no divider at the back.
Mistake 3: Choosing compartments before checking their contents
Neat product photos make evenly sized sections appealing, but your belongings may need a less symmetrical layout. Empty the drawer, group the items you want to keep there and measure the longest or widest piece in each group. Remember to allow room to grasp an item: a compartment that matches its exact dimensions can make it frustrating to remove.
Try arranging the groups in the drawer before deciding how many divisions to buy. Items used often should be easy to see and reach; occasional items can sit farther back. This exercise may reveal that one long section and a few small ones are more useful than a grid of identical squares. It can also show whether the drawer is carrying things better stored elsewhere.
Mistake 4: Assuming an adjustable divider fits any drawer
Adjustable does not mean unlimited. Expandable trays have minimum and maximum widths, and spring-loaded dividers need enough space to extend while maintaining a secure fit. Check the full adjustment range against your inside measurements. For expandable trays, also look at what happens to the compartments when the tray widens: the extra space may not appear where you need it.
Think about how the organizer will stay in place. A tray with a little clearance is easier to lift out for cleaning, but it may slide when the drawer opens. A snug tension divider may stay put, but it could be unsuitable for a drawer with delicate or uneven sides. If the product needs a flat surface or straight walls, confirm that your drawer has both.
Mistake 5: Buying a permanent layout for a changing drawer
A drawer used for one set of items today may have a different job later. Before committing to a fitted insert, ask how likely the contents are to change. Individual trays or movable dividers can be easier to rearrange than a single molded organizer. On the other hand, a stable set of contents may benefit from a simple insert that uses the available space well.
Write down the drawer’s inside width, depth and usable height, along with the sizes of a few key items. Then choose a divider based on that list, leaving a little practical room for access and cleaning. Measuring first may feel slower than choosing the best-looking organizer, but it gives you a better chance of buying one that makes the drawer genuinely easier to use.